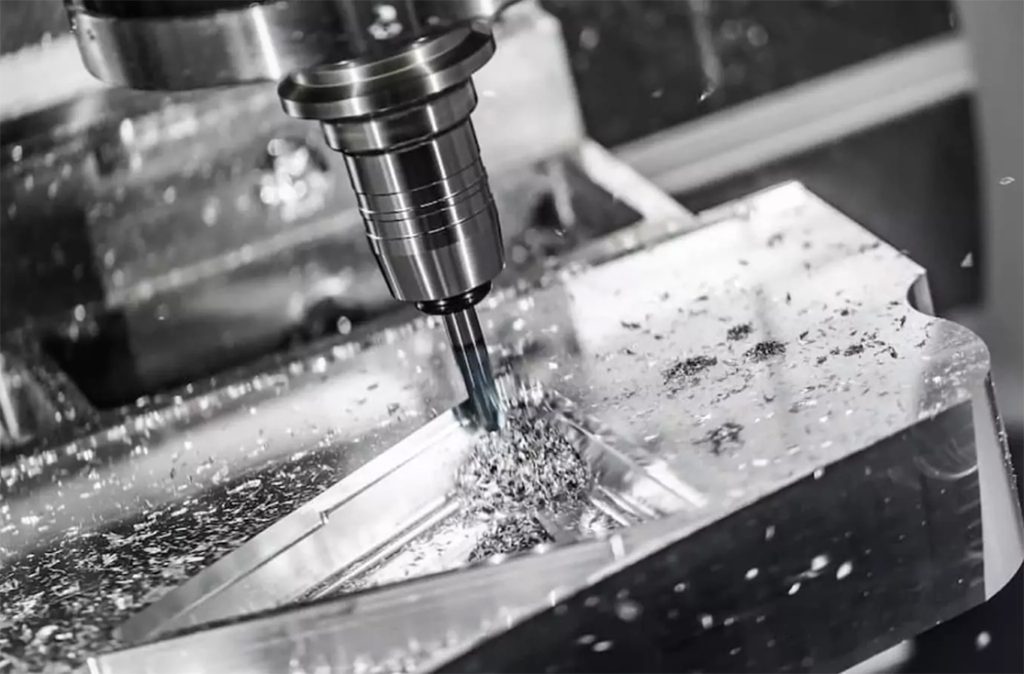
Work hardening, also known as strain hardening, is a critical metallurgical phenomenon observed in metals. It involves an increase in hardness and strength due to plastic deformation below the recrystallization temperature. This process is primarily induced by mechanical stress during machining or forming operations, leading to significant structural changes within the material.

Understanding Work Hardening
Increased Hardness and Strength
Work hardening enhances the hardness and strength of a material by altering its atomic structure. This structural reorganization impedes further plastic deformation, effectively strengthening the metal.
Metal Sensitivity to Work Hardening
Certain metals exhibit pronounced work hardening characteristics:
- Soft low-carbon steels
- Nickel-manganese alloys
- High-temperature alloys such as Inconel and Monel
These materials are particularly prone to rapid strengthening under mechanical stress.
Plastic Deformation Triggers
Plastic deformation caused by processes like bending, rolling, or hammering is the primary mechanism driving work hardening. These techniques introduce dislocations in the crystal lattice, which accumulate and interact, increasing resistance to further deformation.
Common Misconceptions About Work Hardening
Distinction from Recrystallization
Work hardening occurs at temperatures below the recrystallization point. In contrast, hot working involves deformation above this threshold, allowing dynamic recovery and preventing strain accumulation.
Reversibility Through Heat Treatment
Despite the substantial structural changes induced by work hardening, the effects are not permanent. Processes such as annealing can restore the material’s original properties by promoting recrystallization and reducing dislocation density.
Materials Prone to Work Hardening During Machining
Highly ductile materials are especially susceptible to work hardening during machining. These include:
Aluminum Alloys
Alloys such as 2024 and 7075 are highly sensitive to work hardening. Careful tool selection and cutting strategies are essential to mitigate its effects.
Copper and Copper Alloys
Pure copper, brass, and bronze demonstrate high ductility, making them prone to rapid work hardening during machining.
Titanium Alloys
Widely used in aerospace and medical applications, titanium alloys show strong work hardening tendencies. Specialized machining practices are required to maintain dimensional accuracy and surface integrity.
Stainless Steels
Austenitic stainless steels like 304 and 316 are particularly susceptible to strain hardening. Proper tooling and cutting parameters are crucial for efficient machining.
Nickel-Based Superalloys
Materials such as Inconel and Monel, used in extreme environments like aerospace and marine applications, are highly prone to work hardening.
Brass and Lead
Copper-zinc alloys (brass) and lead also exhibit work hardening during machining, requiring appropriate process adjustments.
Certain Plastics
Some thermoplastics, such as polycarbonate, may undergo strain hardening under mechanical stress during machining.
To minimize work hardening and strain hardening effects, it is essential to optimize cutting conditions, select appropriate tools, and apply effective lubrication strategies. Post-processing treatments like annealing can also be employed to restore the material’s original properties when necessary.
Effective Strategies to Minimize Work Hardening and Strain Hardening
1. Optimize Cutting Parameters
- Reduce Feed Rate:Excessive feed increases cutting forces and promotes material deformation.
- Increase Cutting Speed:Higher spindle speeds reduce contact time between the tool and workpiece.
- Control Depth of Cut:Use shallow cuts (preferably no more than 1/3 of the tool diameter) to minimize plastic deformation.
2. Select Appropriate Tools
- Tool Material:Choose ultra-fine grain carbide, CBN, or PCD tools for better wear resistance.
- Tool Geometry:
- Increase rake angle to reduce cutting forces.
- Use sharp cutting edges to avoid material squeezing.
- Employ positive rake angle inserts.
- Tool Coatings:Apply wear-resistant coatings such as TiAlN to extend tool life.
3. Apply Cooling and Lubrication Effectively
- Use Adequate Coolant:High-pressure coolant (>70 bar) helps dissipate heat and reduce thermal softening.
- Choose Suitable Coolants:
- Oil-based coolants for titanium alloys.
- Emulsions for stainless steel.
- Minimum Quantity Lubrication (MQL) for aluminum and other non-ferrous metals.
4. Optimize Machining Processes
- Use Climb Milling:Compared to conventional milling, climb milling reduces the hardened layer by approximately 30%.
- Avoid Repeated Passes:Plan tool paths carefully to prevent secondary cutting on previously machined surfaces.
- Layered Machining Strategy:For sensitive materials, adopt a “light cut with multiple passes” approach.
5. Implement Post-Processing Measures
- Timely Annealing:Perform stress-relief annealing for critical components (e.g., stainless steel at 400–450°C for 2 hours).
- Surface Treatments:Techniques like shot peening or vibratory finishing can improve surface residual stress conditions.
6. Tailored Approaches for Specific Materials
- Titanium Alloys:Consider radial milling techniques to reduce heat buildup and tool wear.
- Nickel-Based Alloys:Use variable parameter machining (gradually decreasing feed rate).
- Austenitic Stainless Steels:Maintain continuous cutting motion; avoid pauses that cause localized hardening.
7. Monitor the Machining Process
- Real-Time Force Monitoring:Track cutting force variations to detect signs of work hardening.
- Regular Tool Wear Inspection:Replace tools when flank wear (VB value) exceeds 0.3 mm.
- Acoustic Emission Detection:Utilize sensors to identify early indicators of strain hardening.
By integrating these strategies, the depth of the work-hardened layer can typically be controlled within0.05–0.1 mm, significantly improving surface quality and dimensional accuracy. For particularly sensitive materials, preliminary test cuts are recommended to determine optimal machining parameters before full-scale production.

