I. Product Overview
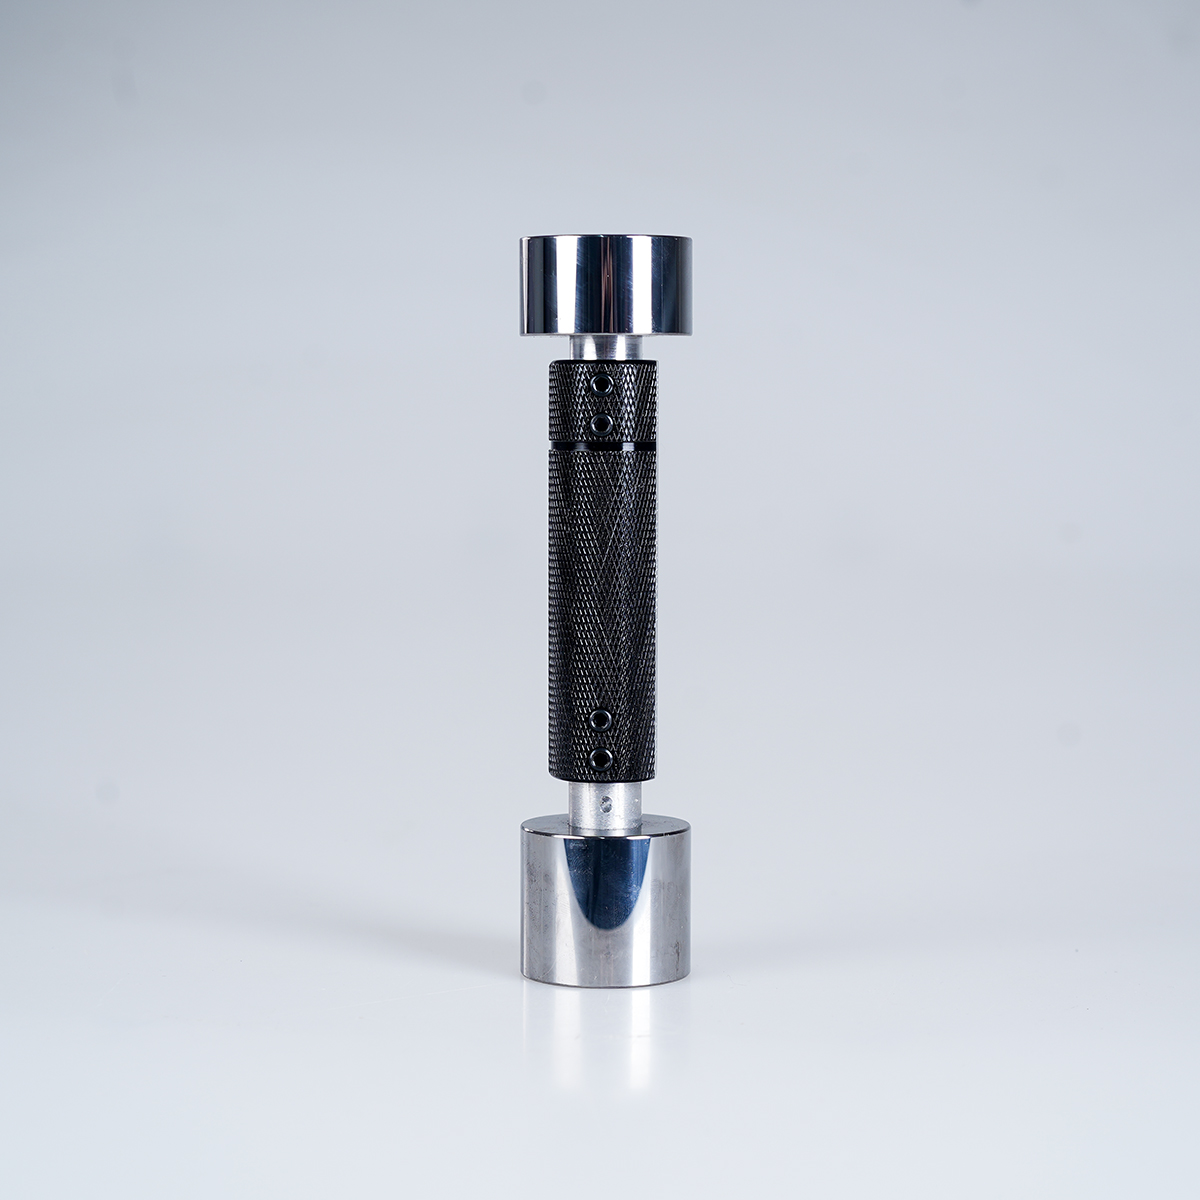
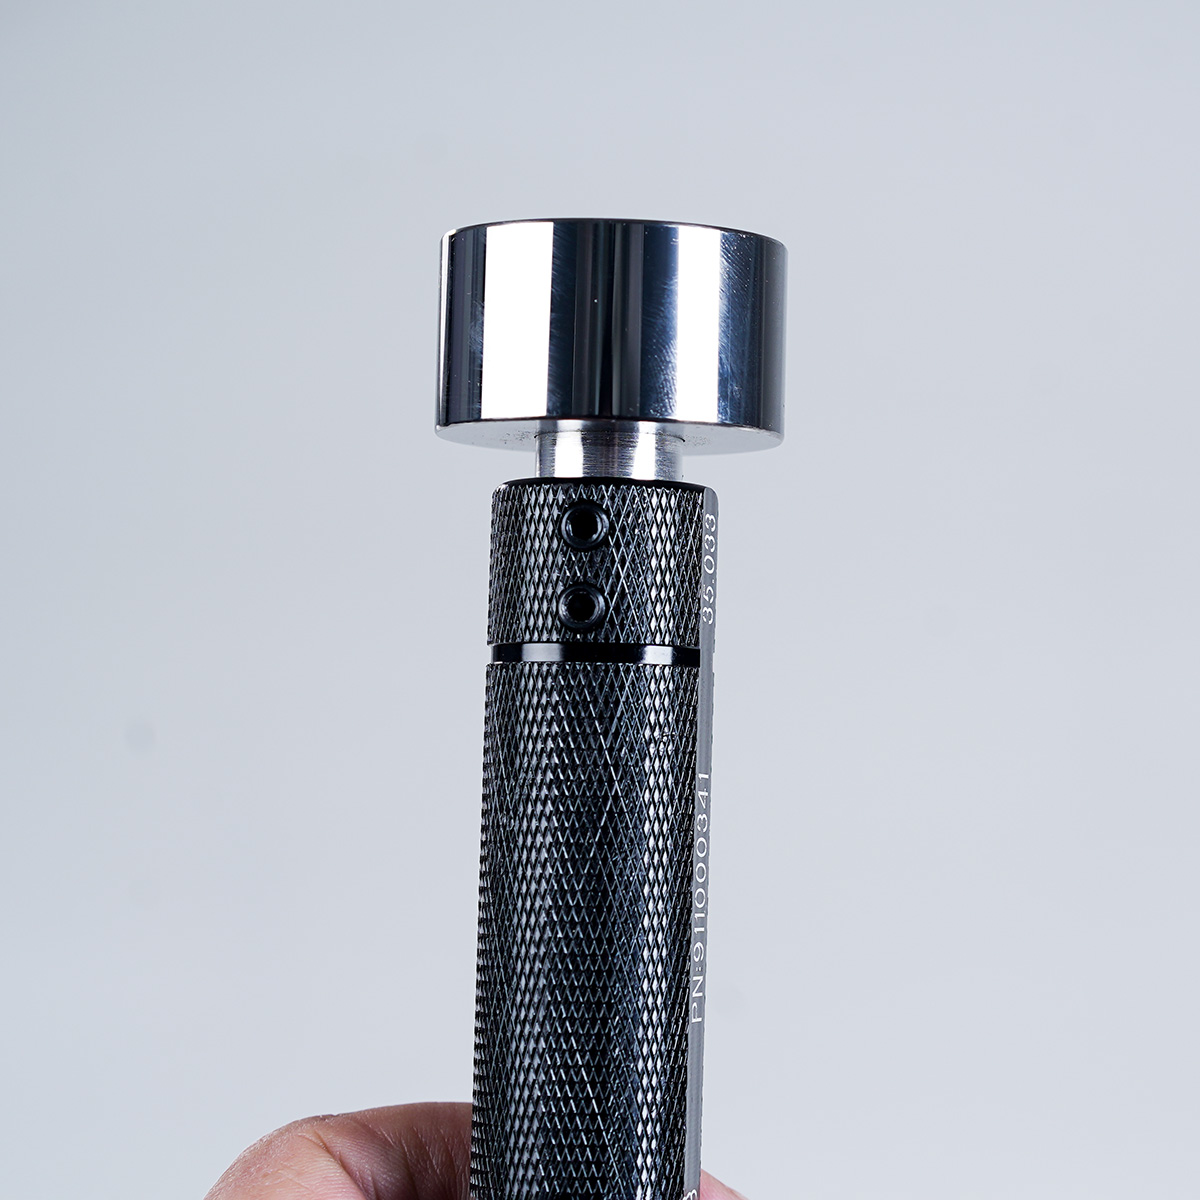
Double-ended Tungsten Carbide Plug Gauges are professional precision measuring tools specifically designed to meet the requirements of high-precision inner hole dimension inspection in modern industries. With their outstanding performance, they are widely used in multiple key fields and play an indispensable role in ensuring product quality and improving production efficiency. Whether in the basic processes of mechanical processing or in high-end manufacturing fields such as automobile, aerospace, and electronic precision products, they are essential assistants.
II. Product Features
- Excellent Material: Made of tungsten carbide material with high hardness and high wear resistance, its hardness can reach HRA89 – 92.5, endowing the plug gauge with excellent wear-resistant and anti-damage characteristics. During frequent use, it can effectively resist wear and maintain high-precision measurement performance for a long time. Compared with ordinary carbon steel plug gauges, its service life is significantly extended, saving enterprises the cost of frequently replacing measuring tools. For example, in a mechanical processing workshop, when continuously detecting a large number of workpieces, its durability advantage is fully demonstrated, ensuring the uninterrupted production process.
- High Precision Guarantee: Through advanced processes such as precision grinding and electrical discharge machining, the dimensional tolerances of the “go” end and the “no-go” end are strictly controlled, achieving breakthroughs in micron-level precision and even nano-level precision. Multiple precision grades from IT6 to IT12 are available, comprehensively covering the stringent requirements from general industrial production to precision manufacturing in aerospace and other fields. Taking aerospace precision manufacturing as an example, the double-ended tungsten carbide plug gauge with a precision of ±0.001 micron can accurately detect the inner holes of key components, ensuring the performance and safety of aircraft. For some high-precision specifications, the measurement error is extremely small, reaching the international leading level, ensuring that every measurement result is accurate and reliable.
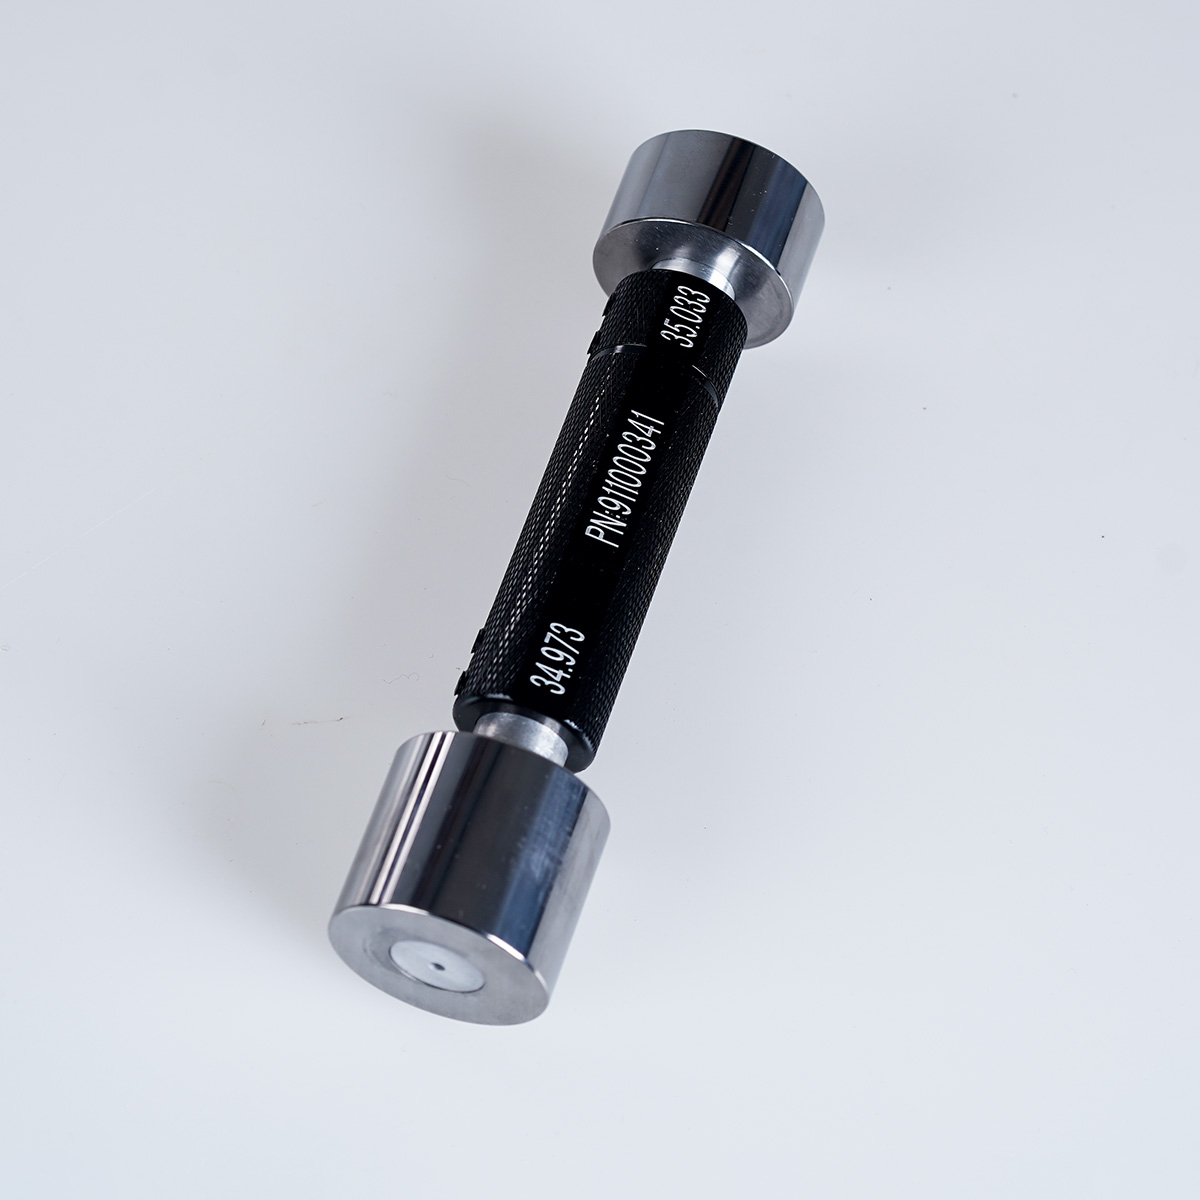
- Innovative Design: The unique double-ended structure features a “go” end, which is used to quickly determine whether the hole diameter reaches the minimum allowable size and ensures that the inner hole of the workpiece can pass smoothly, and a “no-go” end, which strictly checks whether the inner hole exceeds the maximum limit size. Compared with traditional single-ended plug gauges, the detection efficiency is greatly improved. One operation can complete the key judgment, especially suitable for large-scale production scenarios, such as the production line of automobile parts, effectively ensuring product quality.
- Good Thermal Stability: The tungsten carbide material endows the product with excellent thermal stability. Within the wide temperature range from -50°C to +150°C, the dimensional change is negligible. This enables the plug gauge to calmly cope with various complex working environments and effectively avoid measurement errors caused by environmental temperature fluctuations. Whether it is mechanical processing in a high-temperature working environment or the manufacturing of electronic precision products in a high-humidity environment, it can stably output accurate measurement results.
III. Technical Parameters
- Size Specifications:
- Diameter Range: From 0.5mm to 50mm, finely covering common hole diameter requirements. Each specification is accurate to 0.01mm and can be further divided into higher precision scales, such as φ3.00mm ± 0.005mm, φ10.00mm ± 0.01mm, etc. Customization services for non-standard requirements can also be provided according to customers’ special needs to meet personalized production requirements. For example, customizing special-sized plug gauges for the inspection of ship engine components can accurately adapt to complex and diverse inspection tasks.
- Length: Usually adjustable between 50mm and 150mm, optimized according to different diameters and usage scenarios to ensure that it can not only reach an effective measurement depth when inserted into the inner hole but also be convenient for operators to hold and operate, improving work convenience.
- Precision Grades:
- Precision grades from IT6 to IT12 are provided:
- IT6 – IT8: Customized for fields such as aerospace, high-end electronics, and precision mold manufacturing to ensure the high-precision inspection of key components such as the inner holes of aero-engine blades, holes of high-end watch movements, and apertures of precision molds, guaranteeing excellent product quality.
- IT9 – IT12: Widely used in general mechanical manufacturing, hardware processing, and production of ordinary automobile parts and other fields. While meeting the basic quality requirements, it also takes into account cost and efficiency to help enterprises operate efficiently.
- The precision indicators strictly comply with international metrology standards (such as ISO 1938 – 1:2015) and relevant national standards, providing unified and reliable precision guarantees for global users.
- Precision grades from IT6 to IT12 are provided:
- Tolerance Zones: It can accurately match the specific tolerance requirements of customers’ products. Common tolerance zones such as ±0.003mm, ±0.005mm, ±0.01mm, etc. are available. The sizes of the “go” end and the “no-go” end are precisely controlled according to the product design and manufacturing process to ensure that the inner hole dimensions of the product are accurate and compliant, laying a solid foundation for quality control.
IV. Product Structure
- Measuring Ends:
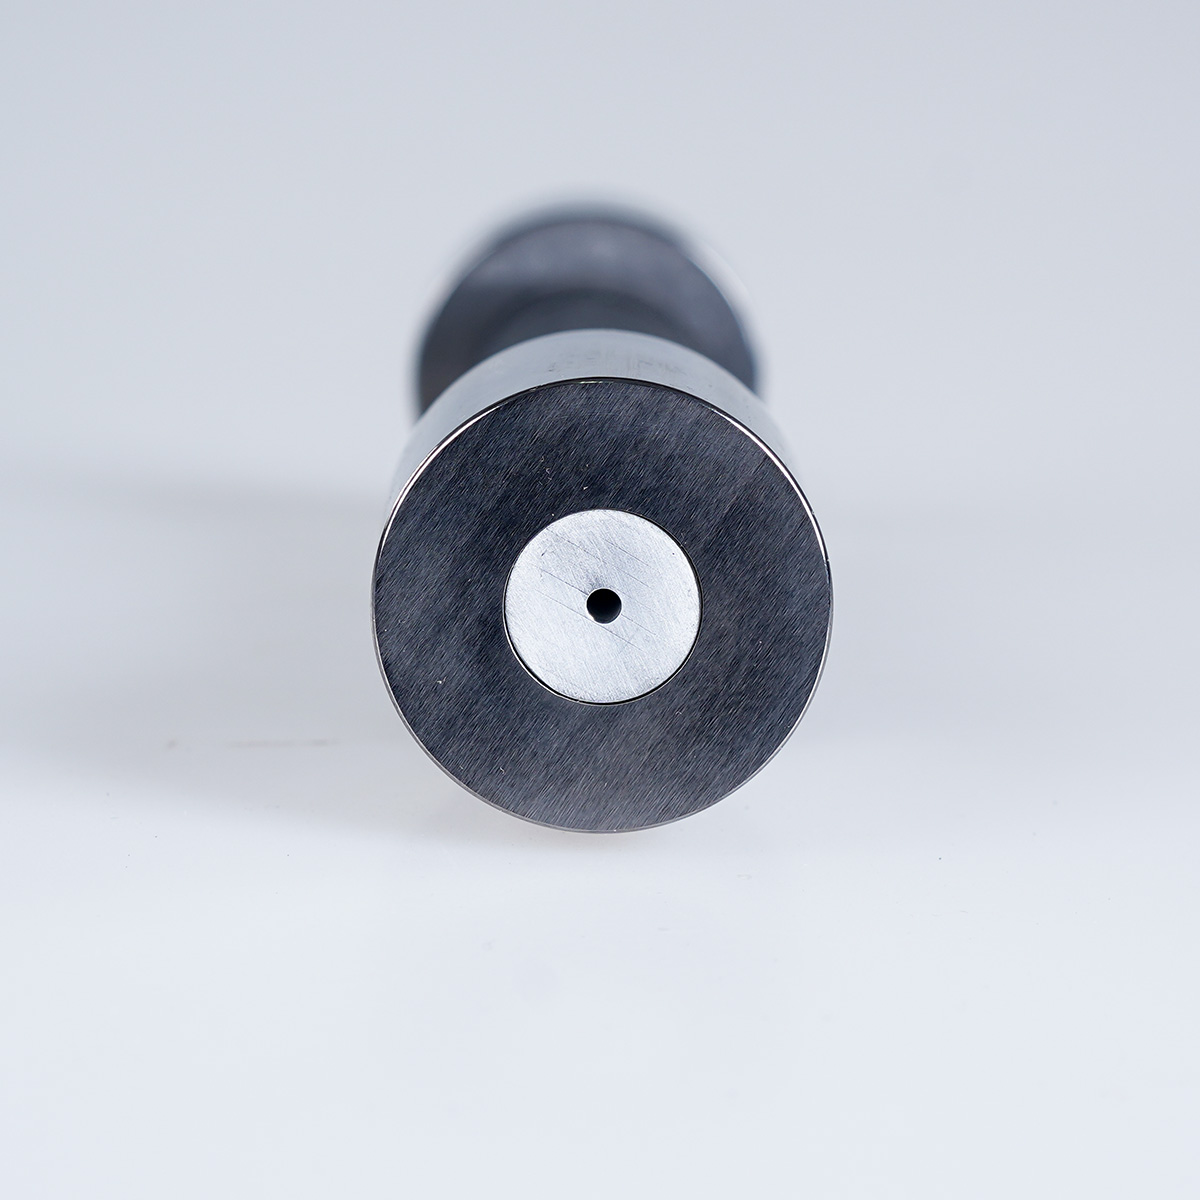
- “Go” End: The head is carefully designed to be in the shape of a smooth cone or cylinder, which is convenient for smooth insertion into the inner hole. The surface is super-precision ground, and the dimensional accuracy strictly meets the requirements of the minimum limit size. The tolerance is controlled within a very small range to accurately detect the lower limit size of the inner hole.
- “No-go” End: The shape of the head matches that of the “go” end, usually in the form of a cylinder with a precisely measured length. The size of the “no-go” end is precisely machined according to the maximum limit size, and the tolerance is controlled precisely to effectively judge whether the inner hole exceeds the limit.
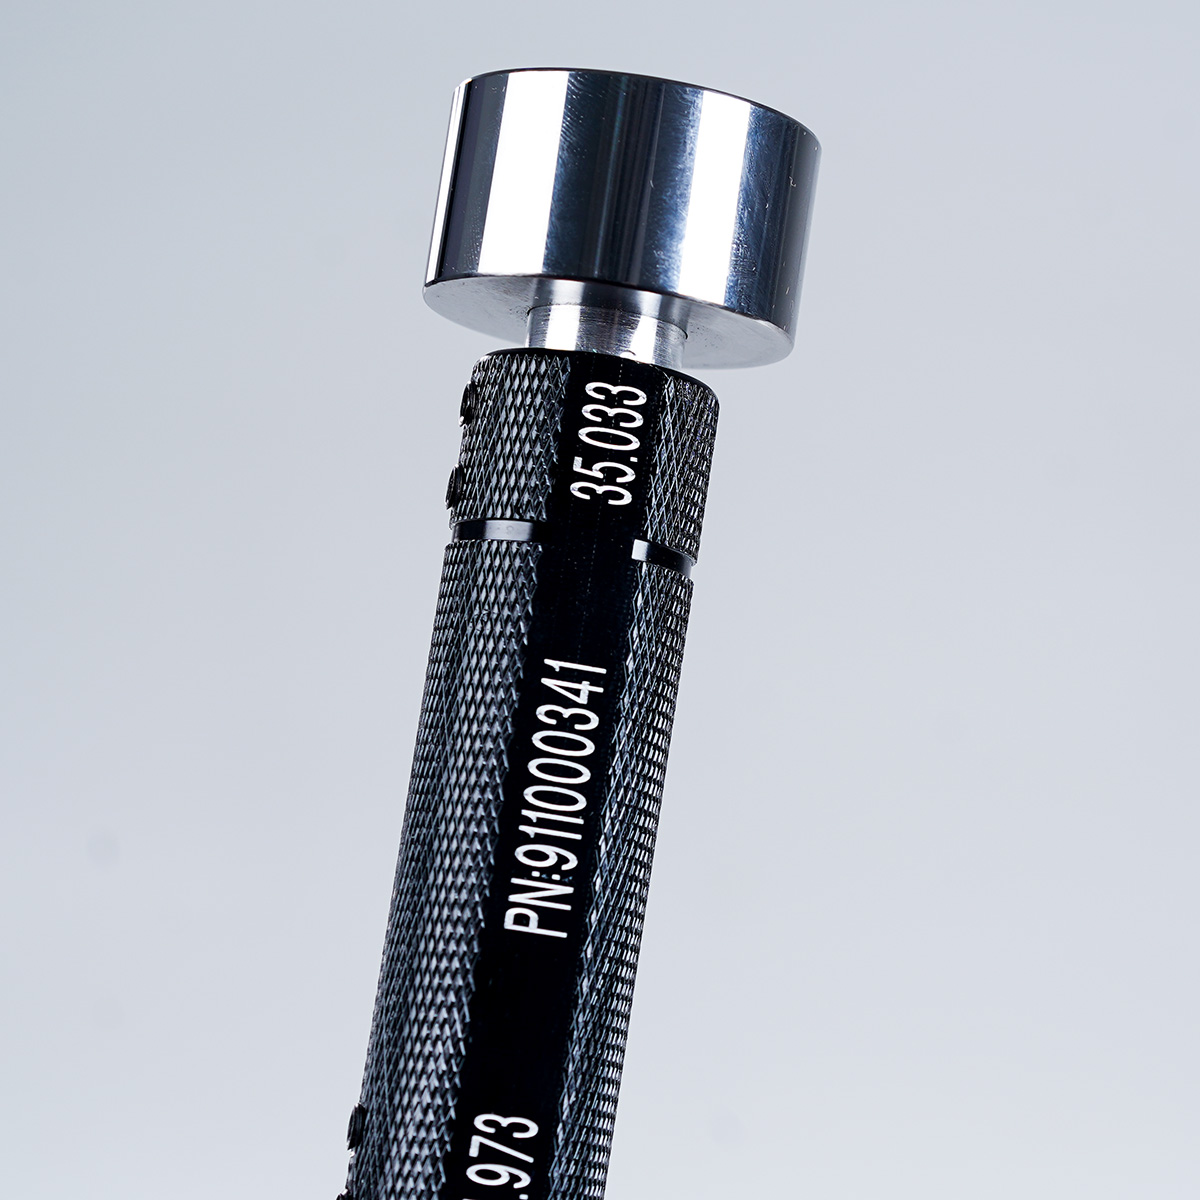
- Grip Part: Located in the middle of the plug gauge, it follows the ergonomic design concept. The surface is covered with knurling or anti-slip textures, which greatly increases the friction between the hand and the plug gauge. When the operator holds it, it is stable and comfortable, enabling precise force application when inserting and pulling out the plug gauge, effectively avoiding the risk of slipping and ensuring the accuracy of measurement and the safety of the tool.
V. Usage Methods
- Preparations Before Measurement:
- Cleaning: Use a clean soft cloth or dust-free paper dipped in an appropriate amount of absolute ethanol to gently wipe the two measuring ends of the double-ended tungsten carbide plug gauge and the inner hole surface of the workpiece to be measured, thoroughly removing impurities such as oil stains, iron filings, and dust to prevent foreign substances from interfering with the measurement accuracy.
- Calibration: Regularly (it is recommended to send the plug gauge to a professional metrology institution or use a high-precision master ring gauge for calibration every 20 hours of use or according to the actual usage frequency) to ensure that the dimensional accuracy of the “go” end and the “no-go” end meets the standards. If any wear, deformation or other abnormalities are found during calibration, the plug gauge should be repaired or replaced in a timely manner to ensure accurate measurement.
- Steps of Measurement Operation:
- Holding the Plug Gauge: The operator holds the plug gauge in a natural and stable posture, gently grasping the grip part with the thumb and index finger, and using the middle finger for auxiliary support to keep the plug gauge vertical and ensure that it remains stable without shaking during the entire measurement process.
- Inserting the “Go” End: Slowly, uniformly and vertically insert the “go” end of the plug gauge into the inner hole of the workpiece to be measured until the “go” end completely passes through the inner hole. The insertion process must be gentle to prevent excessive force from damaging the plug gauge or the workpiece. If the “go” end cannot pass through smoothly, it indicates that the inner hole size of the workpiece is smaller than the minimum limit size, and the workpiece is unqualified.
- Checking the “No-go” End: After the “go” end has passed through, immediately rotate the plug gauge by 90 degrees (to ensure that the measurement direction is changed and avoid misjudgment caused by the shape error of the inner hole), and then slowly insert the “no-go” end into the inner hole. If the “no-go” end can be partially inserted but cannot completely pass through the inner hole, the inner hole size of the workpiece is within the tolerance range, and the workpiece is a qualified product; if the “no-go” end can completely pass through the inner hole, it indicates that the inner hole size of the workpiece is larger than the maximum limit size, and the workpiece is unqualified.
- Post-measurement Handling:
- Cleaning and Maintenance: After the measurement is completed, wipe the plug gauge again with a cleaning solvent to remove oil stains, metal debris and other contaminants adhered during the measurement. Then place the plug gauge properly in a dedicated measuring tool box or protective cover to avoid collision and scratching, ensuring that it is ready for use at any time.
- Recording Data: According to the measurement results, truthfully fill in the inspection report, recording detailed information such as the workpiece number, inner hole size, measurement date, and measurement personnel to provide a solid basis for product quality traceability.
VI. Maintenance and Care
- Daily Cleaning: After each use, it is necessary to clean the plug gauge in a timely manner to prevent the accumulation of dirt from affecting the accuracy. For stubborn stains, a small amount of special hard alloy cleaner can be used in combination with a soft brush to gently scrub, taking care to avoid damaging the surface of the plug gauge during the operation.
- Regular Calibration: Strictly follow the specified calibration cycle, which is the key to ensuring the accuracy of the plug gauge. During calibration, if it is found that the dimensional deviation of the “go” end or the “no-go” end exceeds the allowable range, the plug gauge should be corrected in a timely manner by using precision grinding and other processes according to the calibration report to restore the accurate dimensions.
- Storage Environment: The double-ended tungsten carbide plug gauge should be stored in a dry, ventilated environment free from corrosive gases. The ideal storage temperature is 20°C ± 5°C, and the relative humidity is between 40% and 60%. Avoid direct sunlight, high temperature, high humidity, or contact with corrosive substances such as acids and alkalis to prevent oxidation, corrosion or deformation of the plug gauge.
- Protective Measures: During the handling and transportation process, use special protective packaging, such as hard plastic boxes and foam linings, to properly package the plug gauge to prevent damage caused by collision and dropping.
VII. Precautions
- It is strictly prohibited to use the double-ended tungsten carbide plug gauge to measure the inner hole of the workpiece that exceeds its nominal size range to avoid damage to the plug gauge.
- After measuring high-temperature workpieces, wait for the plug gauge to cool down to room temperature before the next measurement to prevent the influence of thermal expansion and contraction on the measurement accuracy and the service life of the plug gauge.
- Non-professional personnel are not allowed to disassemble or repair the plug gauge without permission. If maintenance is required, please contact professional measuring tool maintenance institutions or the manufacturer’s after-sales service personnel.
- Keep the plug gauge away from strong magnetic fields and electric fields to avoid affecting the magnetic properties and dimensional stability of its material.
VIII. Application Scope
- Mechanical Processing Industry: As a basic tool for mechanical processing, it is used for the inner hole dimension inspection of various machine tool accessories, mechanical parts, and hardware tools, ensuring the accuracy of hole diameters and improving the assembly quality of products. It is an indispensable helper in the daily production of workshops.
- Automobile Manufacturing Industry: In the production of key components such as engines, transmissions, wheels, and braking systems, high-precision inner hole inspection is crucial. This plug gauge ensures the performance, safety, and reliability of automobiles, providing strong support for the development of the automobile industry.
- Aerospace Industry: For precision parts such as aero-engine blades, landing gears, and satellite components, which have extremely high requirements for hole diameter accuracy, this plug gauge meets the stringent quality standards and tolerance requirements with its ultra-high precision and stability, helping to realize the dream of aerospace.
- Electronic Precision Manufacturing Industry: It is used for the measurement of the hole diameters of precision structural parts inside electronic products such as mobile phones, computers, and precision instruments, facilitating the production of miniaturized and precision electronic products and ensuring the performance and stability of electronic equipment, thus promoting technological progress.
The double-ended tungsten carbide plug gauges produced by our company not only strive for excellence in technical parameters but also provide comprehensive after-sales guarantees. We have a professional after-sales team, and some products are provided with a lifetime warranty service, allowing you to purchase with confidence. After years of market tests, our products have received a large number of positive reviews. They also comply with ISO international standards, meet the latest quality regulations in the industry, and many products are produced in accordance with national standards and have obtained specific industry certifications. They are your reliable partners for precision measurement. Meanwhile, to facilitate customers, we also provide professional knowledge on how to select double-ended tungsten carbide plug gauges to help you make accurate selections. Whether you are a new customer or have a long-term cooperation with us, you can feel our professionalism and sincerity.

Reviews
There are no reviews yet.